

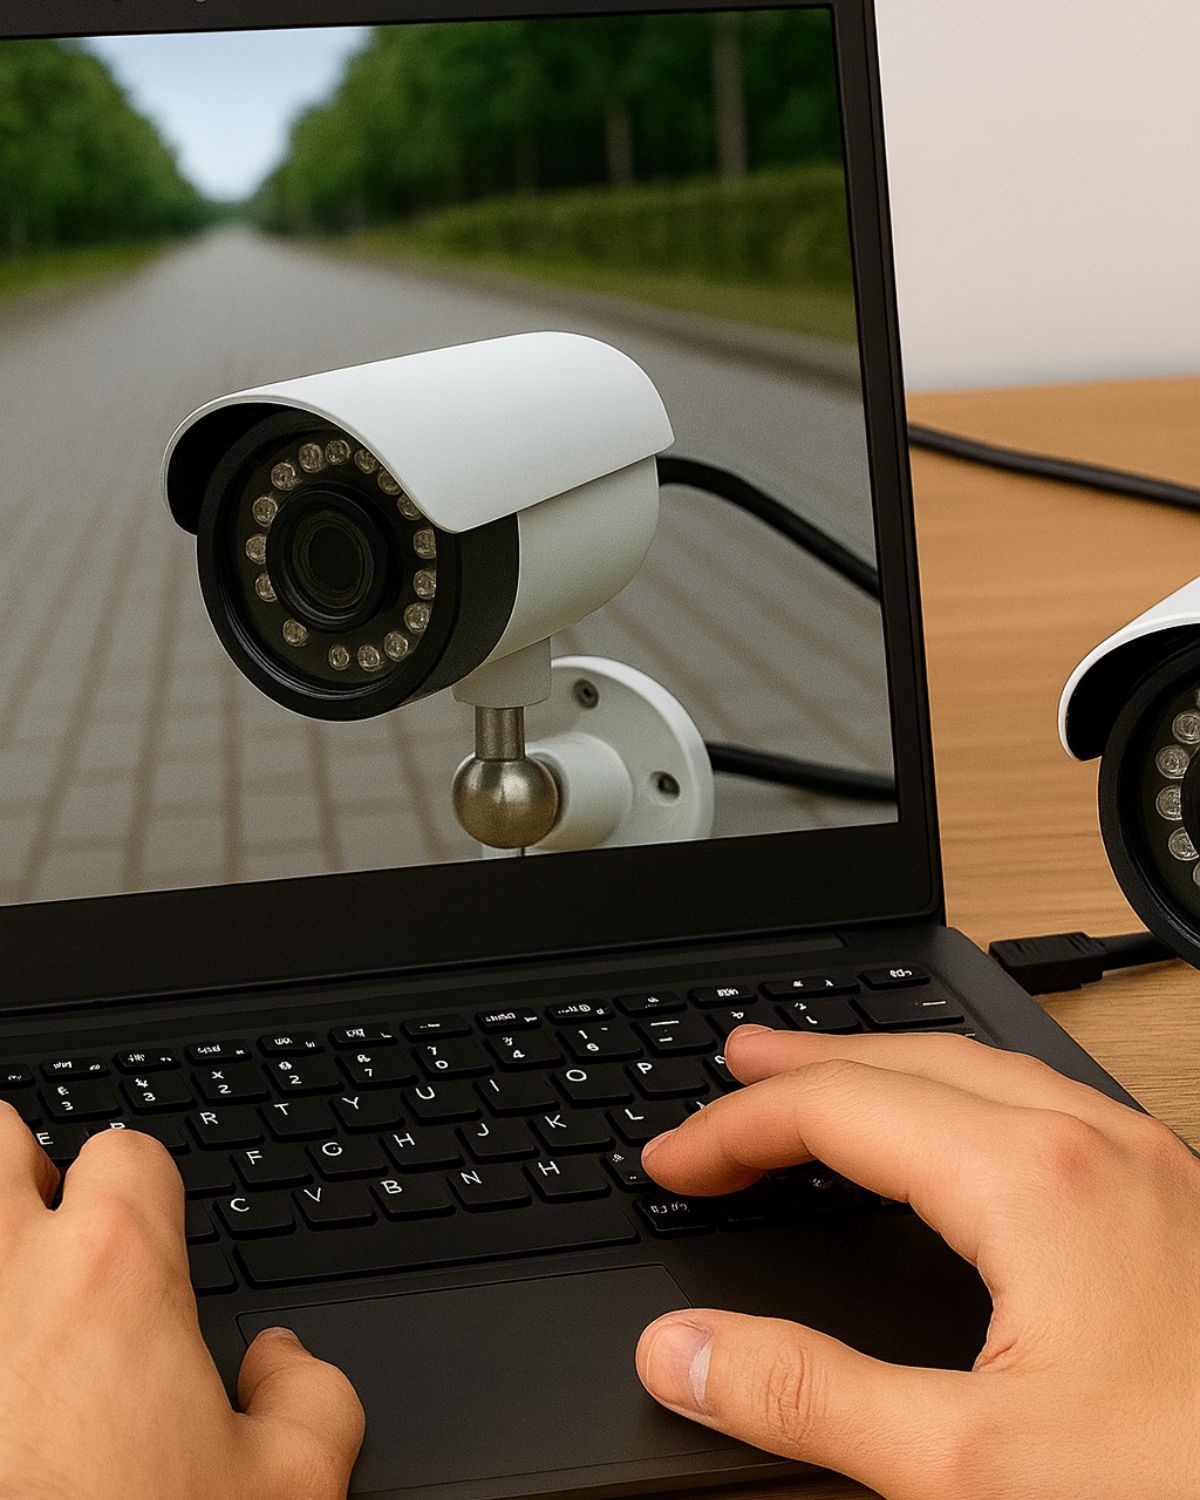
If you’ve just installed a CCTV camera system and want to view the footage on your laptop, you’re not alone. Many GTA homeowners and business owners prefer using laptops as monitors because it’s portable, cost-effective, and easy to configure. Whether you’re working with an IP camera, a DVR/NVR system, or a Wi-Fi-enabled smart camera, connecting your CCTV camera to a laptop can give you 24/7 access to live video and recordings.
In this guide, we’ll explain how to connect CCTV cameras with laptops, the different methods available, and why a professional setup from Sense Group might be the best option if you want reliable and secure access.
Why Connect CCTV Camera to a Laptop?
Using your laptop as a monitor or controller has several advantages:
- Portable viewing – monitor live feeds anywhere in your home or office.
- Remote access – with internet-enabled setups, you can view cameras from anywhere in the GTA or even outside Canada.
- Cost savings – no need to buy a separate CCTV monitor.
- Storage options – save footage directly onto your laptop or an external drive.
- Multi-camera access – easily switch between multiple camera feeds.
For businesses across Toronto, Barrie, Milton, Kitchener, and Caledon, this flexibility means managers can check live security feeds without being tied to a fixed control room.
Methods: How to Connect CCTV Camera with Laptop
The right method depends on the type of camera and system you’re using. Here are the most common approaches:
1. Direct Connection Using Ethernet Cable (IP Cameras)
If you’re using a standalone IP camera, you can connect it directly to your laptop with an Ethernet cable.
Steps:
- Connect one end of the Ethernet cable to the camera and the other to your laptop’s LAN port.
- Assign the camera an IP address that matches your laptop’s network range.
- Open a web browser and enter the camera’s IP address.
- Log in using the default username and password provided by the manufacturer.
This method is great for testing cameras before installing them outdoors. For larger setups, professional network cabling ensures everything is connected properly.
2. Connection Through Router or Network Switch
Most CCTV cameras connect to a laptop via a router or network switch.
- Connect the camera to the router using an Ethernet cable.
- Ensure your laptop is connected to the same router via Wi-Fi or LAN.
- Use the camera’s software or a browser to log in with the camera’s IP address.
- Configure settings like resolution, motion detection, and storage.
This setup allows multiple cameras to connect through the same network, making it ideal for smart security camera installations.
3. Connecting DVR/NVR to Laptop
If you have a DVR (Digital Video Recorder) or NVR (Network Video Recorder), the process is straightforward:
- Connect the DVR/NVR to the same router as your laptop.
- Install the manufacturer’s client software on your laptop.
- Enter the DVR/NVR’s IP address or scan the QR code on the device.
- View live feeds and recorded footage through the software interface.
For GTA businesses with multiple cameras, NVR/DVR setups provide central storage and easy access. Learn more about our CCTV Surveillance services.
4. Using Wi-Fi Cameras with Laptop
Some modern CCTV cameras are Wi-Fi-enabled and designed for quick laptop or smartphone access.
- Power up the camera and connect it to your Wi-Fi network.
- Download the camera’s desktop client software.
- Log in with your account and sync the camera.
- View the live feed directly on your laptop without cabling.
This is common for smaller residential setups in Toronto and Milton, but Wi-Fi coverage issues can reduce reliability. For better performance, we recommend Wi-Fi access points to extend your network.
5. Using Third-Party Software
If your camera doesn’t have reliable software, you can use third-party viewing apps like:
- VLC Media Player – supports RTSP stream from most IP cameras.
- iSpy – open-source surveillance software.
- Blue Iris – professional-grade camera management software.
Simply add your camera’s IP address and stream URL, and the software will display your feed.
Common Issues When Connecting CCTV Camera to Laptop
Even with the right setup, users often face these challenges:
- Wrong IP address – if your camera’s IP doesn’t match your laptop’s range, it won’t connect.
- Firewall settings – laptops may block incoming connections.
- Weak Wi-Fi – a poor signal can cause delays or blackouts.
- Outdated firmware – older cameras may require software updates.
- Cable issues – damaged Ethernet or coaxial cables disrupt connections.
Sense Group provides network troubleshooting and home network cabling services across the GTA to ensure smooth operation.
Benefits of Laptop Connectivity
When you connect your CCTV system to a laptop, you unlock several benefits:
- Remote access: Monitor cameras while travelling.
- Backup options: Store important footage on your laptop’s drive.
- Scalability: Add more cameras without needing extra monitors.
- Integration: Use the laptop to manage access control systems and other smart security devices.
- Flexibility: Perfect for businesses and homeowners who want mobile monitoring.
Common Mistakes to Avoid
- Skipping password changes – always update default login credentials.
- Using indoor cameras outdoors – they won’t survive Canadian weather.
- Not securing Wi-Fi – open networks make your system vulnerable.
- Relying only on Wi-Fi – for critical systems, wired connections are more stable.
- Improper mounting – affects video quality and coverage.
Avoiding these mistakes ensures your system works reliably, especially in high-security areas like retail shops, warehouses, and apartment complexes.
When to Call Sense Group
While DIY camera setups may work for smaller properties, many homeowners and business owners across the GTA prefer professional installation for better reliability and long-term performance. You should call Sense Group if:
- Your camera won’t connect despite multiple setup attempts or troubleshooting.
- You need a multi-camera system connected to your laptop, NVR, or secure cloud storage.
- You want protected remote access to monitor your property from outside your network.
- You’re experiencing cabling issues or weak Wi‑Fi, resulting in unstable video feeds.
- You’re planning to upgrade to smart surveillance with continuous 24/7 monitoring.
- Your facility requires expertise in industrial security camera installation, especially for warehouses, manufacturing sites, loading docks, and large operational spaces where wide coverage and durable equipment are essential.
We provide professional security camera installation in Toronto and throughout the GTA — including Barrie, Milton, Kitchener, and Caledon. Our services support residential, commercial, and industrial properties and are backed by a dependable 3-year warranty, giving you confidence that your surveillance system will perform when it matters most.