

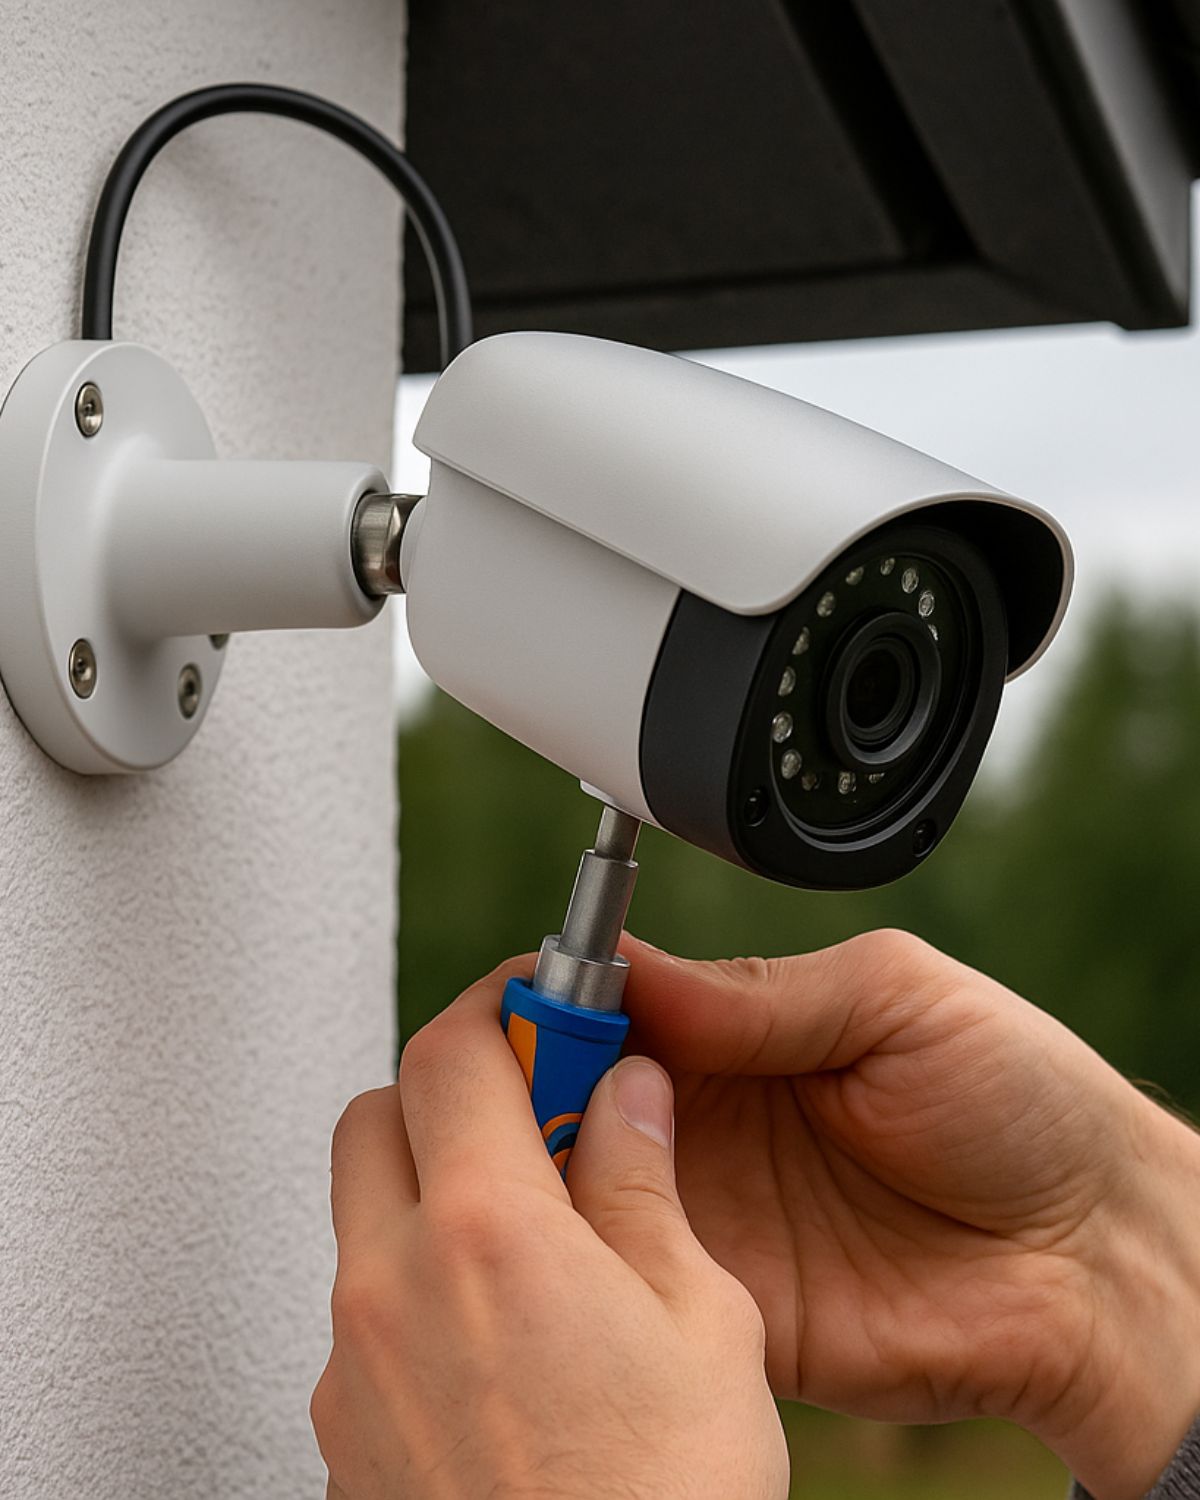
Outdoor CCTV cameras are one of the best investments for protecting your home or business in the GTA. A well-installed camera system can deter intruders, capture valuable evidence, and give you peace of mind with 24/7 monitoring. But when it comes to outdoor installation, things get a bit more technical than simply plugging in a camera indoors. Weatherproofing, cabling, angles, and power supply all play an important role in how effective your camera will be.
If you’re asking, “How to install CCTV camera outdoors?” this step-by-step guide will help you understand the process, common mistakes to avoid, and when to call professionals like Sense Group for expert installation.
How To Choose the Right Outdoor CCTV Camera?
Not all security cameras are designed for outdoor use. Outdoor cameras need to withstand rain, snow, and temperature fluctuations in Ontario’s climate.
- Weatherproof rating: Look for IP65, IP66, or higher.
- Night vision: Infrared (IR) LEDs allow 24/7 monitoring.
- Camera type: Bullet cameras are popular for long-range outdoor coverage; dome cameras are great for wide areas and vandal resistance.
- Wired vs wireless: Wired systems offer stable connectivity; wireless may be easier to install, but depends on Wi-Fi signal strength.
For reliable setups, we recommend browsing high-definition CCTV installation options that are designed specifically for outdoor use.
How to Install CCTV Camera Outdoors: Step-by-Step
Installing outdoor CCTV cameras involves proper planning and careful setup. Here are the most important steps:
1. Plan the Camera Placement
Before drilling holes, decide where the camera will give you the most coverage.
- Focus on entry points like front doors, garages, and driveways.
- Mount cameras at least 8–10 feet high to prevent tampering.
- Angle cameras to avoid blind spots and cover the widest area possible.
- Ensure the field of view is clear of obstructions such as trees or signs.
2. Choose the Mounting Surface
Outdoor cameras can be mounted on walls, ceilings, poles, or eaves. The mounting surface must be stable enough to hold the bracket securely. For properties in Toronto with brick or concrete exteriors, you’ll need the right drill bits and anchors.
3. Drill and Install the Mounting Bracket
Once the location is chosen:
- Use a drill to create mounting holes.
- Install the mounting bracket using screws and anchors.
- Thread the camera cables through the bracket to keep wiring tidy.
4. Run the Cables
For wired cameras, running the cables is the most time-consuming part of installation.
- Use Ethernet cables (Cat5e/Cat6) for IP cameras with PoE (Power over Ethernet).
- For DVR-based systems, run coaxial cables along with power cables.
- Route cables through walls, attics, or conduits to protect them from weather.
Our team provides network cabling services in the GTA to ensure cables are installed safely and neatly.
5. Connect to Power
Outdoor cameras need a reliable power source. Options include:
- PoE (Power over Ethernet): Best for IP cameras, where one cable carries both power and data.
- DC power adapters: Used for analog cameras, but require nearby outlets.
- Solar-powered options: For remote locations without easy access to power.
6. Position and Secure the Camera
Once mounted, position the camera to cover your desired area. Adjust the angle to minimize blind spots and ensure coverage of entrances, driveways, or yards. Tighten all screws to prevent the camera from shifting over time.
7. Connect to DVR/NVR or Cloud
- For wired systems, connect the cables to the DVR (Digital Video Recorder) or NVR (Network Video Recorder).
- For Wi-Fi cameras, connect to your router and configure settings.
- Test live feeds using the mobile app or desktop software.
8. Configure Settings and Alerts
Modern CCTV systems allow you to:
- Set up motion alerts on your phone.
- Adjust night vision or infrared settings.
- Create recording schedules to save storage.
- Store footage in the cloud or on local drives.
Learn more about smart configurations in our smart security camera installation guide.
Why Install CCTV Cameras Outdoors?
Outdoor cameras are your first line of defence. They provide:
- Crime deterrence: Visible cameras discourage intruders.
- 24/7 monitoring: Combined with night vision, you’re always protected.
- Evidence collection: Footage can help police and insurance claims.
- Peace of mind: Monitor your property remotely from anywhere.
- Property value: Homes and businesses with security systems are more attractive to buyers.
For business owners across the GTA, outdoor CCTV also ensures employee and customer safety in parking lots and building entrances.
Common Mistakes to Avoid
Installing outdoor CCTV cameras can be highly effective, but small errors during setup can reduce their performance or even leave your system vulnerable. Here are some of the most common mistakes you’ll want to avoid:
- Installing too low: Makes cameras easy to tamper with.
- Poor cable management: Leaves wires exposed to weather or vandalism.
- Bad placement: Cameras pointed directly at sunlight or blocked by objects reduce effectiveness.
- Using indoor cameras outdoors: They will fail in harsh Canadian weather.
When to Call Sense Group
Installing cameras outdoors can be tricky if you’re not experienced with cabling, drilling, or configuring DVR/NVR systems. You should call Sense Group if:
- You need a professional outdoor installation in the GTA.
- You want a custom CCTV setup for residential or commercial properties.
- You’re struggling with cable routing or Wi-Fi coverage.
- You want to integrate cameras with access control systems or video doorbells.
- Your current system is outdated and needs an upgrade.
We provide full security camera installations in Toronto, Barrie, Milton, Kitchener, and Caledon. All services include a 3-year warranty, professional support, and neat cabling.